Fermentation at Home: Sourdough, Kombucha, Kimchi and More
Picture this: It’s a crisp autumn morning in the Midwest, and I’m in my farmhouse kitchen, checking on my latest batch of kimchi bubbling away in a Ball jar on the counter. The tangy scent fills the air, reminding me why I fell in love with fermenting years ago. If you’re embracing the tradwife lifestyle, home fermentation isn’t just a trend—it’s a practical way to nurture your family with wholesome, gut-friendly foods straight from your own hands. From sourdough bread to kombucha and kimchi, these time-honored techniques help you create nourishing staples while building self-sufficiency in your kitchen.
As someone who’s been writing for Tradwife Club for eight years, I’ve seen how fermentation fits perfectly into our daily rhythms and weekly routines. It empowers us to create healthy alternatives without relying on store-bought versions. Today, I’m sharing everything you need to know about getting started with sourdough, kombucha, kimchi, and other ferments that bring that cozy, self-sufficient vibe to your home.
When I first started fermenting back in my early homemaking days, it felt intimidating—like tackling a complex recipe without guidance. But here’s what nobody tells you: it’s actually one of the simplest ways to preserve seasonal produce, from summer berries in the Pacific Northwest to fall cabbage hauls at Midwest farmers markets. Fermentation naturally boosts nutrition through beneficial probiotics, transforming ordinary vegetables and grains into gut-healing powerhouses for your family.
Think about it this way: You’re not just saving money by skipping those expensive kombucha bottles at the grocery store—you’re building a valuable skill that connects directly to our core homemaking values. Women in our community often share how fermentation gives them a profound sense of accomplishment, especially during long winter days when jars of colorful ferments line their kitchen shelves like edible artwork.
It’s worth mentioning that perfection isn’t the goal here. My first sourdough starter died twice before I figured out the rhythm, but each “failure” taught me something valuable about temperature, timing, and patience. That’s the beauty of this craft—it grows alongside you.
Starting simple with sourdough basics
Sourdough has become a beloved staple in homemaking circles, and for good reason. The frustration most beginners face comes from inconsistent starters—dough that won’t rise or loaves that turn out dense. But the secret lies in patience and establishing a consistent feeding routine.
Begin with just two ingredients: flour and water. Mix equal parts (about half a cup of each) in a clean jar, cover loosely with a cloth, and feed it daily with fresh flour and water. Within about five to seven days, you’ll notice bubbles forming and that signature tangy aroma developing. I keep mine in a ceramic crock on the counter, feeding it right after breakfast as part of my morning routine.
Once your starter is active and bubbly, the possibilities multiply. Use it for crusty artisan bread, fluffy pancakes on Saturday mornings, or even pizza dough for family movie nights. The beauty is in the versatility—one starter opens up dozens of recipes.
Real homemakers are adapting this ancient technique to fit their unique situations. One woman I know incorporates rye flour to give her bread a heartier, more complex flavor profile. Another bakes exclusively on weekends, keeping her starter refrigerated between baking sessions. Don’t overthink it at the start—begin with a simple white flour starter and experiment once you’re comfortable.
The true joy? Slicing into a warm, crusty loaf you created from scratch and watching your family’s faces light up. That simple pleasure makes every feeding schedule worth it.
Brewing kombucha like a pro at home
Kombucha has sparked countless conversations among homemakers, especially around flavoring options and fermentation times. I’ve brewed batch after batch in my kitchen, and I can tell you it’s remarkably forgiving once you understand the basics. Plus, it’s perfect for those warm afternoons when you want something refreshing without the sugar crash of commercial sodas.
You’ll need a SCOBY—that peculiar jelly-like culture that looks strange but works magic. You can get one from a friend who brews, order online, or even grow your own from store-bought raw kombucha (though that takes patience). Combine it with sweetened black tea that’s been cooled to room temperature, and let nature do the work for seven to fourteen days.
The fermentation time depends entirely on your taste preference and kitchen temperature. Warmer kitchens ferment faster, producing a tangier brew. I taste mine daily after the first week, looking for that perfect balance between sweet and tart. When it reaches your preferred flavor, bottle it with fresh fruit—apples from fall picking, berries from summer, or ginger for a spicy kick—and let it undergo a second fermentation for carbonation.
Common pitfalls include over-fermenting, which creates an unpleasantly vinegary taste, or under-fermenting, leaving it too sweet. But here’s the thing: even “failed” batches have value. Overly fermented kombucha makes excellent vinegar for salad dressings or natural cleaning solutions. Nothing goes to waste in a well-managed tradwife kitchen.
Storage matters too. I use glass jars with tight-sealing lids for the second fermentation, being careful to burp them daily to prevent excessive pressure buildup. The aesthetic bonus? Beautiful glass containers filled with colorful, fizzing liquid add charm to any farmhouse kitchen aesthetic.
Making kimchi and other vegetable ferments
Kimchi brings spicy, probiotic-rich Korean tradition into American kitchens, and it’s surprisingly adaptable to our homemaking routines. First-timers often worry about the heat level or how to adjust recipes for children’s palates, but the beauty of homemade kimchi is complete control over ingredients and spice intensity.
Start with Napa cabbage—either from your garden or the farmers market. The process is surprisingly straightforward: chop the cabbage, salt it generously to draw out moisture, then massage it until it begins to soften. While it rests (usually an hour or two), prepare your flavor paste with garlic, ginger, chili flakes, and a touch of fish sauce or soy sauce for umami depth.
Mix the paste thoroughly with your cabbage, pack everything tightly into clean jars, and let it ferment at room temperature. This is crucial: you must burp the jars daily to release built-up gases. I learned this lesson the hard way when a forgotten jar created quite the mess in my pantry. Setting a daily phone reminder prevents such mishaps.
After three to five days, depending on temperature and taste preference, your kimchi is ready. The flavors will continue developing in the refrigerator, becoming more complex over weeks. Serve it as a tangy side dish, stir it into fried rice, or add it to scrambled eggs for a flavor boost that also supports digestive health.
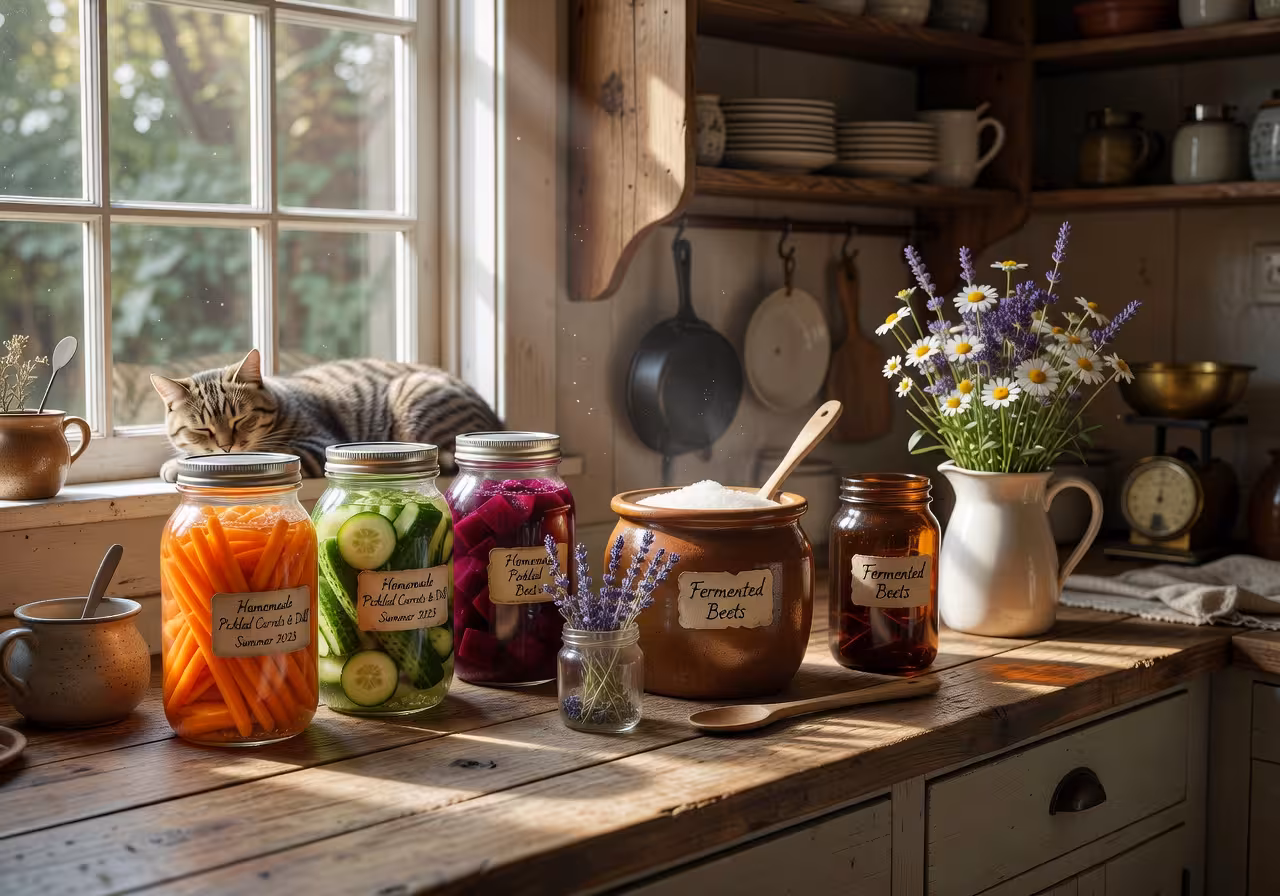
Beyond kimchi, the vegetable fermentation world offers endless variety. Sauerkraut with caraway seeds brings traditional German flavors to your table. Pickled beets add vibrant color and earthy sweetness. Fermented carrots with dill make perfect snacks for children. Each variation follows the same basic principle: salt, time, and beneficial bacteria working together.
Don’t overlook the brine—that precious liquid left in your fermentation jars. It’s packed with probiotics and flavor. Use it in salad dressings, as a marinade for meats, or even as a digestive tonic taken by the spoonful. In a tradwife kitchen, we waste nothing that can nourish our families.
Exploring seasonal ferments for year-round variety
Beyond the fermentation trinity of sourdough, kombucha, and kimchi, a whole world of possibilities awaits to enhance your homemaking rhythms throughout the seasons. These projects aren’t just kitchen experiments—they’re ways to connect with food traditions while creating staples your family will love.
Yogurt-making transforms your relationship with breakfast. Using whole milk from local dairies, you can create thick, creamy yogurt overnight with minimal effort. I use a simple method: heat milk to 180°F, cool to 110°F, stir in a few tablespoons of store-bought yogurt as starter, then keep it warm in a turned-off oven overnight. By morning, you have fresh yogurt ready for parfaits, smoothies, or homemade ranch dressing.
Apple cider vinegar from fall apple scraps epitomizes resourcefulness. After making applesauce or pies, save the peels and cores in a jar, cover with water and a bit of sugar, and let wild yeasts work their magic. In a few weeks, you’ll have raw, unfiltered vinegar perfect for everything from kitchen cleaning to salad dressings.
Milk kefir offers probiotic benefits in drinkable form, perfect for busy mornings when you need quick nutrition. The grains (actually a symbiotic culture, not true grains) ferment milk in 24 hours, creating a tangy beverage you can flavor with vanilla, honey, or frozen berries. Children often prefer the milder taste compared to yogurt.
Fermented hot sauce adds zing to meals while using up that bumper crop of peppers from your summer garden. Blend peppers with garlic and salt, ferment for a week, then strain and bottle. The fermentation mellows the heat slightly while adding complex, developed flavors you simply can’t get from vinegar-based commercial sauces.
Each of these projects ties into the seasons naturally. Spring brings opportunities for fermented ramps or asparagus. Summer overflows with possibilities—cucumbers into pickles, tomatoes into fermented salsa. Fall means cabbage for sauerkraut and apples for vinegar. Winter becomes a time for maintaining your starters and enjoying the preserved bounty from warmer months.
The vintage charm of colorful jars lining your shelves doesn’t hurt either. There’s something deeply satisfying about a well-stocked pantry filled with foods you’ve created through your own knowledge and care.
Overcoming common fermentation challenges
Every homemaker encounters obstacles when fermenting, but they’re almost always fixable with a bit of knowledge and patience. The most common concern I hear: “How do I know if something’s gone wrong?”
Mold is the primary safety concern, but it’s usually easy to identify. Fuzzy growth in colors like black, pink, or green means your batch should be discarded. However, white film on kombucha (called kahm yeast) is harmless—simply skim it off and continue. The difference comes down to texture and color: beneficial bacteria create smooth surfaces, while harmful molds appear fuzzy and colorful.
Temperature inconsistency causes many fermentation failures. Most beneficial bacteria thrive between 65-75°F. Too cold, and fermentation stalls or stops entirely. Too hot, and it races ahead, potentially creating off-flavors or allowing harmful bacteria to compete. I keep a simple thermometer near my fermentation station and adjust jar locations seasonally—closer to the stove in winter, in the coolest corner during summer.
Sterilization confusion trips up many beginners. You don’t need hospital-grade sterility, but cleanliness matters tremendously. Wash all equipment with hot, soapy water and rinse thoroughly. I run my jars through a hot dishwasher cycle, then let them air dry completely before use. This simple practice prevents most contamination issues.
Patience challenges even experienced fermenters. We live in a culture of instant results, but fermentation operates on nature’s timeline. Your sourdough starter won’t be ready in three days no matter how much you will it. Kombucha won’t ferment overnight. Accepting this rhythm actually becomes meditative—checking your ferments becomes a peaceful daily ritual rather than an impatient waiting game.
Family involvement transforms challenges into opportunities. My children love the “magic” of watching vegetables transform through fermentation. They help with safer tasks like massaging cabbage for sauerkraut or mixing sourdough starter. This involvement teaches patience, science, and food appreciation while creating memories. It reinforces the values we hold dear in our homes.
According to research on fermented foods, these traditional techniques not only preserve food but significantly enhance its nutritional value and digestibility, making them especially valuable for family health.
If you’re feeling overwhelmed, start with just one ferment. Master sauerkraut before moving to kombucha. Perfect your sourdough routine before attempting yogurt. Building skills gradually creates confidence rather than frustration. And remember, even experienced fermenters have occasional failures—it’s part of the learning process.
Building your fermentation routine for lasting success
The key to successful fermentation isn’t fancy equipment or complicated techniques—it’s establishing sustainable rhythms that fit your life. I’ve found that treating fermentation as part of my regular homemaking schedule, rather than an occasional project, makes all the difference.
Monday mornings, I feed my sourdough starter while the coffee brews. Wednesday afternoons, I check my kombucha and prepare any new vegetable ferments. Saturday mornings become baking days when I transform that fed starter into bread for the week ahead. These rhythms become automatic, requiring minimal mental energy once established.
Start small and expand gradually. Your first month, focus solely on maintaining a sourdough starter and baking one loaf weekly. Month two, add a simple sauerkraut or pickle batch. Month three, experiment with kombucha. This progression builds both skill and confidence without overwhelming your schedule or your family with too many new tastes at once.
Document your successes and failures in a simple notebook. I keep mine in the kitchen, jotting down fermentation times, temperature observations, and taste notes. When a batch turns out perfectly, I can replicate those conditions. When something fails, I have data to troubleshoot what went wrong. This practice has saved me countless headaches and accelerated my learning curve dramatically.
The satisfaction of serving your family foods you’ve created through these time-honored techniques is indescribable. There’s profound joy in slicing sourdough bread you’ve nurtured from flour and water, pouring kombucha you’ve brewed yourself, or adding probiotic-rich kimchi to dinner plates. These aren’t just foods—they’re expressions of care, skill, and dedication to your family’s wellbeing.
If you’re ready to connect with other homemakers who are building these skills, I’d love for you to join our Tradwife Club community. Share your fermentation wins, troubleshoot challenges together, and find inspiration from women walking this same path. We’re all learning and growing together, one jar at a time.
Frequently asked questions
How do I know if my ferment is safe to eat?
Trust your senses—if it smells off, looks unusual with fuzzy mold (not the harmless white film on kombucha), or tastes unpleasant, discard it. Properly fermented foods have a pleasant tangy or sour aroma and clean appearance. Always taste a small amount first, and when in doubt, throw it out. Starting with small batches helps you learn without risking much food.
What’s the easiest ferment for absolute beginners?
Sauerkraut is the perfect starting point, requiring only cabbage and salt—no special cultures or equipment needed. It’s incredibly forgiving and ready in about a week, making it ideal for adding to sandwiches or as a side dish. Many homemakers find it builds confidence quickly while providing noticeable digestive health benefits for the whole family.
Can I ferment without buying expensive equipment?
Absolutely—basic mason jars, a clean kitchen towel, and rubber bands work perfectly for most fermentation projects. You don’t need specialized crocks or airlocks unless you’re scaling up significantly. Many homemakers find everything they need at thrift stores or already have suitable containers in their kitchens, making this an economical skill to develop.
How long does a sourdough starter actually last?
A well-maintained starter can last indefinitely with regular feedings—some bakers have kept theirs alive for decades. If you’re not baking weekly, store it in the refrigerator and feed it once a week. When you’re ready to bake, bring it to room temperature and feed it to revive its activity. It’s remarkably resilient and forgiving.
Why isn’t my kombucha getting fizzy?
Insufficient carbonation usually comes from inadequate second fermentation or not enough sugar for the bacteria to consume. Try bottling your kombucha with added fruit or a small amount of sugar, seal tightly, and leave at room temperature for one to three days. Temperature matters too—warmer environments create more carbonation. Always burp bottles carefully to prevent excessive pressure buildup.
How can I get my family to actually eat fermented foods?
Start with familiar applications—add sauerkraut to hot dogs, use sourdough for sandwiches, or mix kimchi into tacos for a flavor twist. Introduce mild versions first, gradually increasing intensity as palates adjust. Children often enjoy the tanginess in yogurt parfaits or smoothies. The key is patience and creative incorporation rather than serving ferments as standalone dishes initially.


")